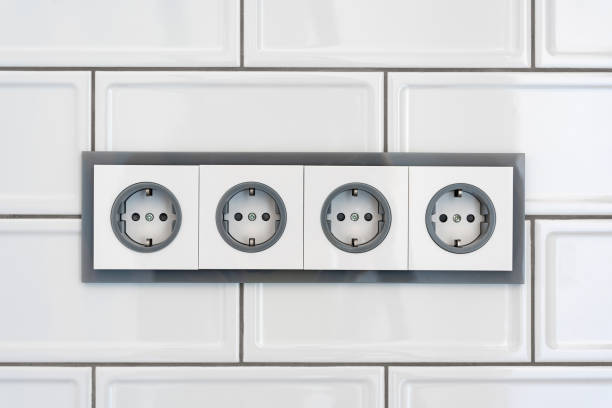
Kitchen tiles installation is a popular home renovation project that involves laying tiles on the kitchen floor or walls to create a durable and aesthetically pleasing surface. Tiles are a popular choice for kitchen surfaces because they are easy to clean, resistant to stains, and can withstand high foot traffic and moisture levels.
One common observation when it comes to kitchen tile installation is the importance of proper preparation. Before laying tiles, the surface must be clean, dry, and level. Any cracks or uneven areas should be filled and smoothed out to create a flat surface for the tiles to adhere to.
Materials and Tools for Kitchen Tiles Installation:
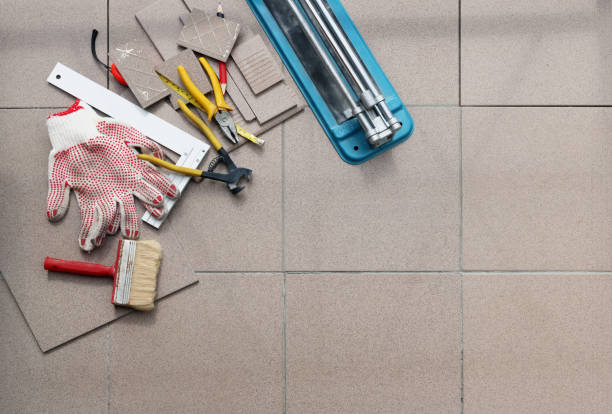
Tiles (ceramic, porcelain, stone, glass, etc.)
Tile adhesive
Tile spacers
Grout (tile grout or excess grout)
Grout sealer
Mesh backing (for mosaic or small tiles)
Trisodium phosphate (TSP) cleaner
Caulk (for gaps or edges)
Drop cloth (to protect surrounding surfaces)
Ledger board (for support)
Switch plates and outlet covers (to match backsplash tiles)
Backsplash tiles (to cover walls)
Countertops (to match backsplash tiles)
Tools (wet saw, utility knife, grout float, rubber float, notched trowel, sponge, etc.)
Manufacturer’s instructions (for specific products and techniques)
How to Installing backsplash tile
Prepare the Walls for Tile

Preparing the walls for tile installation is a crucial step to ensure the durability and longevity of the finished product. The first step in preparing the walls for tile is to clean them thoroughly using a TSP cleaner or other appropriate cleaning solution. This will remove any dirt, grease, or other debris that could prevent the tile adhesive from adhering properly to the wall.
After cleaning the walls, any loose or damaged areas should be repaired with suitable patching material.
This can include filling in holes, smoothing out rough surfaces, or even re-tiling certain areas if necessary. Once the walls are cleaned and repaired, they should be left to dry completely before beginning the tile installation process.
Clean the Wall
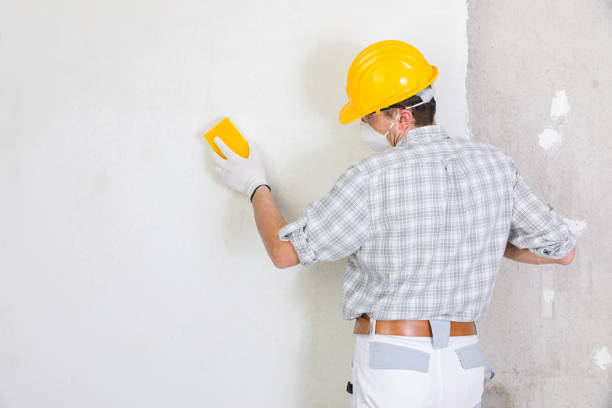
Before installing the tiles, cleaning the wall surface thoroughly is important. Any dirt, grease, or other debris can interfere with the adhesive and cause the tiles not to stick properly.
To clean the wall, start by wiping down the surface with a damp cloth or sponge to remove any loose dirt or dust. Then, use a mixture of warm water and mild soap to clean the wall. Be sure to rinse the wall thoroughly with clean water and allow it to dry completely before starting the tile installation.
Plan the Tile Layout
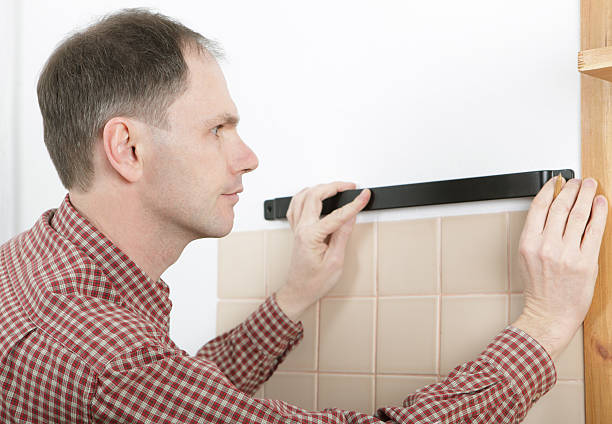
Planning the tile layout is an important step in the installation process. This involves measuring the wall surface to determine the exact amount of tile needed and deciding on the tiles’ orientation and pattern. Proper planning can help ensure that the finished product looks aesthetically pleasing and professional.
When selecting the tile, it is important to consider the size of the tile and how it will fit on the wall. Tile spacers can be used to ensure that the gaps between tiles are even and consistent. It is also important to plan for any outlets or switch plates that will need to be accommodated in the design.
Mix Grout in Small Batches
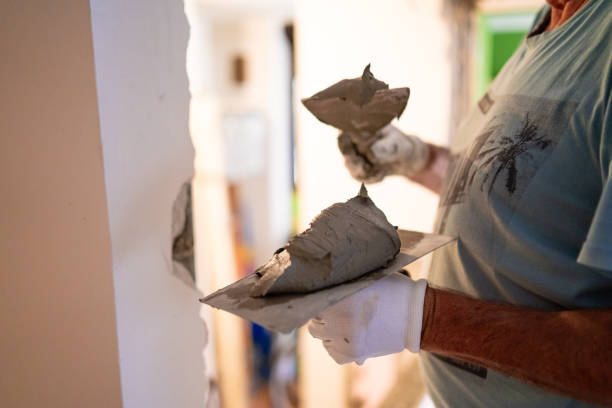
Mixing grout in small batches is an important step in tile installation. This technique allows you to have more control over the consistency of the grout and helps to ensure that it doesn’t dry out before it can be applied. You’ll need a bucket, a grout float, and a trowel to mix the grout.
Begin by adding a small amount of water to the bucket and then slowly pour in the grout mix while stirring with the trowel. Following the manufacturer’s instructions for the correct water-to-grout mix ratio is important. Mix the grout until it has a smooth, paste-like consistency.
Tile the Backsplash
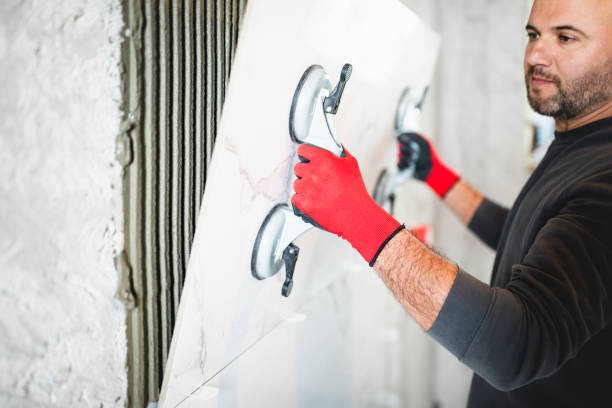
When tiling the backsplash, starting in the center and working outwards is important to ensure a symmetrical and balanced appearance. Begin by applying adhesive to the wall surface in a small area and combing it with a notched trowel. Press the tile sheets into the adhesive and use tile spacers to ensure even spacing between tiles. Use a level to ensure the tiles are straight and adjust as necessary.
Cut any necessary tiles using a wet saw or utility knife and install them around outlets and other obstacles. After installing the tiles, allow the adhesive to dry completely before removing the tile spacers and filling the gaps with grout.
Use a rubber float to apply the grout and wipe away excess with a damp sponge, being careful not to remove too much grout from the grout lines. Once the grout has dried, apply a grout sealer to protect the grout from moisture and staining.
Seal Stone Tile Before Grouting
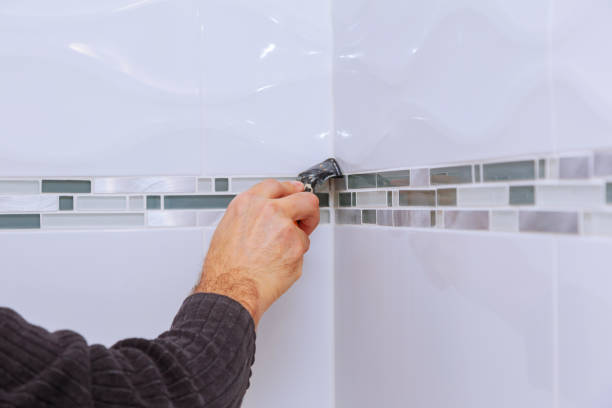
Before grouting stone tile, it is important to seal the tile to protect it from stains and moisture. Stone tiles are porous and can easily absorb liquids and dirt, which can cause discoloration and damage over time. To seal the stone tile, first, clean the tile with a pH-neutral cleaner and let it dry completely. Then, apply the sealer evenly over the surface of the tile using a brush or roller, making sure to cover all areas of the tile. Allow the sealer to dry completely according to the manufacturer’s instructions before applying grout.
Apply Thin-Set
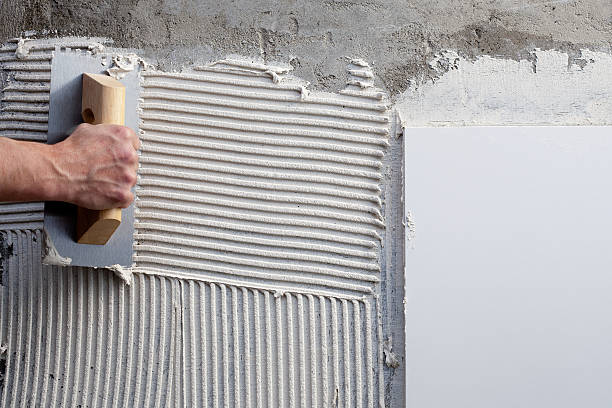
Thin-set mortar is a cement-based adhesive that is used to secure tiles to a surface during installation. Choosing the correct type of thin-set for your project is important, as different types of thin-set are available for different types of tiles and surfaces. The thin-set should be mixed according to the manufacturer’s instructions and applied to the surface with a notched trowel.
The trowel’s notches will create grooves in the thin-set, which will help the tile adhere to the surface. The thin-set should be applied in small sections, as it can dry quickly. Once the thin-set is applied, the tile should be pressed firmly into place.
Continue Adding Tile Spacers
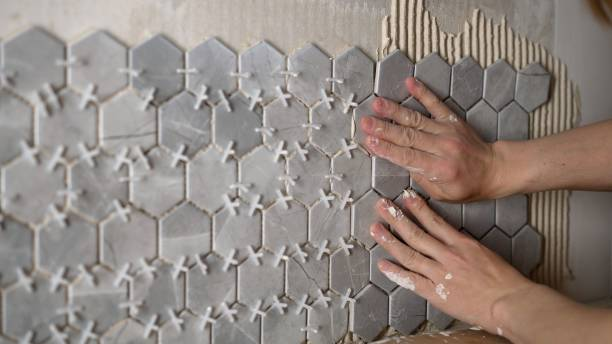
After you have placed a row of tiles, it is important to continue adding tile spacers before adding the next row of tiles. Tile spacers help ensure the tiles are evenly spaced, which is crucial for achieving a professional-looking installation. Spacers come in different sizes, so make sure to choose the appropriate size for your tiles and the spacing you want between them. Insert the spacers between the tiles at the corners and along the edges, making sure they are firmly in place.
Set the Tiles
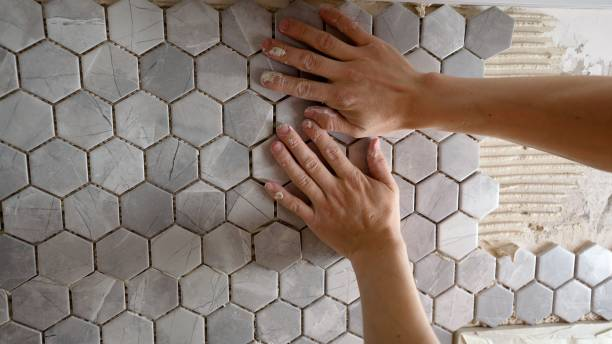
Setting tiles involves applying adhesive to the back of each tile and placing it in the desired location. The adhesive used for setting tiles is typically thin-set, a cement-based mixture applied to the wall with a notched trowel. The notches in the trowel create ridges in the adhesive that help to ensure proper adhesion between the tile and the wall. The tiles should be pressed firmly into the adhesive, ensuring they are level and properly spaced using the tile spacers. It is important to work in small sections to ensure that the adhesive does not dry before the tiles are set.
Work In Small Areas
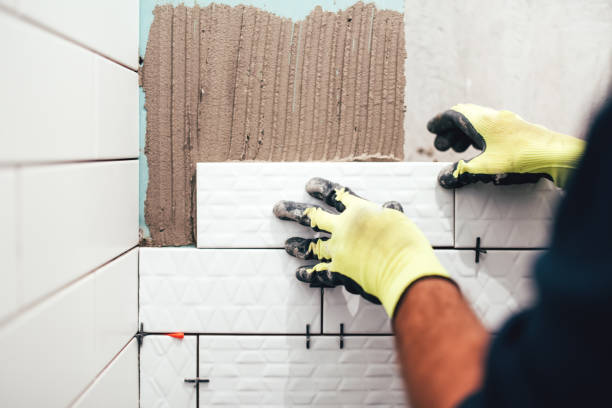
When installing tile, it’s essential to work in small areas to ensure that the adhesive doesn’t dry out before you have a chance to set the tiles. This is particularly important when working with a backsplash where you may have limited space.
You can work in sections of 1-2 square feet at a time, depending on the size of the tiles. To begin, spread a small amount of adhesive on the wall surface using a notched trowel.
Then, press the tiles firmly into the adhesive, ensuring they are level and evenly spaced with the tile spacers. Use a rubber float to press each tile firmly into the adhesive and ensure that it is fully set. Be sure to clean up any excess adhesive that squeezes out from between the tiles with a damp sponge.
Clean Adhesive as You Install Tile Backsplash
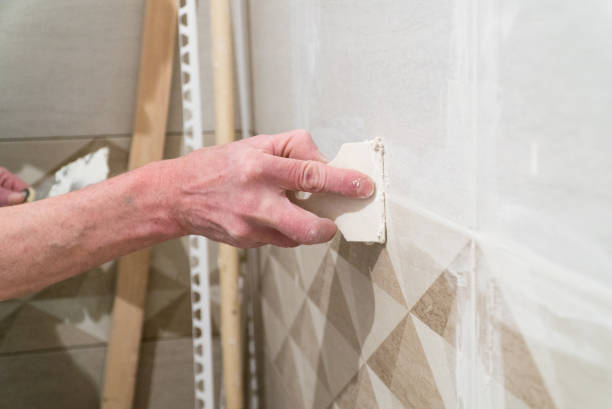
When installing a tile backsplash, it is important to clean the adhesive as you go. This means regularly wiping away excess adhesive with a damp sponge or cloth as you install each tile. Removing and affecting the backsplash’s overall appearance can be difficult if the adhesive is left to dry on the tile’s surface. Additionally, the dried adhesive can interfere with the application of grout, which can lead to a less durable installation.
Apply the Tile Grout
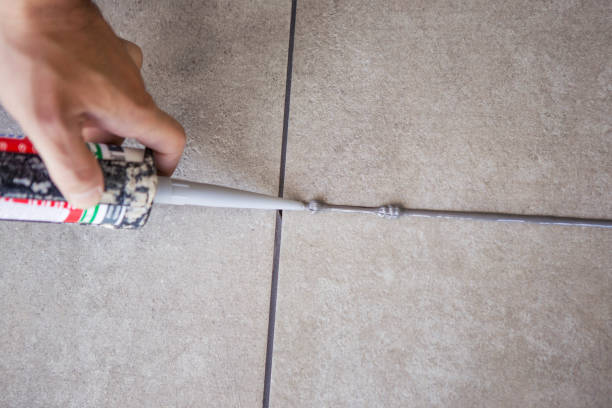
Applying the tile grout is the final step in the tile installation process. After the adhesive has dried, apply the grout to the tile surface with a rubber float. Push the grout into the spaces between the tiles, making sure to fill all the gaps. A damp sponge should remove the tile surface from the excess grout. Working in small areas and cleaning the excess adhesive as you go is important to ensure a clean finish. Allow the grout to dry completely before sealing it with a grout sealer to protect it from water and stains.
Wipe Clean with a Sponge
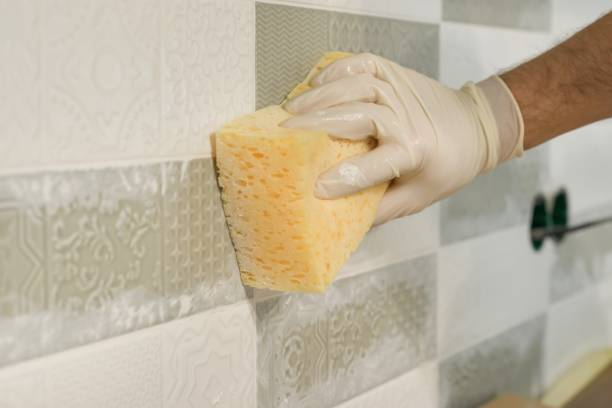
After applying the tile grout, it’s essential to wipe the excess grout off the surface of the tiles with a sponge. Wiping with a sponge will help to remove the excess grout and any haze left on the tiles. A damp, clean sponge is essential to avoid scratching or removing the grout between the tiles. Also, ensure that you wipe diagonally across the tiles and not directly, as this will help to avoid disturbing the grout lines. Wipe the surface of the tiles several times with the sponge until they are clean and the grout lines are well-defined.
Wipe with a Dry Towel
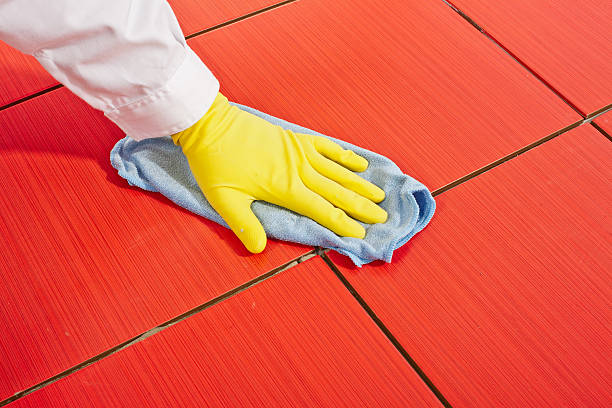
After wiping the tile backsplash with a damp sponge, following up with a dry towel is important to remove any remaining moisture. This is especially important to prevent water spots and ensure the grout is properly set. A clean, dry towel can also be used to buff away any haze or residue left on the tile surface after grouting.
Work with a Partner

When installing a kitchen tile backsplash, it can be helpful to work with a partner. Installing tiles can be a challenging and time-consuming task, and having a partner can make the job go more smoothly and efficiently. A partner can help you with tasks like holding the tile in place while you apply adhesive or grout, cutting tiles to size, or passing you tools and materials.
FAQs
How much does it cost to install new kitchen tiles?
The cost of installing new kitchen tiles can vary based on several factors. These factors include the kitchen’s size, the installation’s complexity, and the type of tiles chosen. For a typical new kitchen tile backsplash installation, homeowners can expect to spend between $500 and $4,000. This amount may be affected by additional expenses, such as the cost of materials and the labor fees charged by the installer.
How do you prepare a kitchen wall for tile?
Before installing kitchen tiles, it is essential to prepare the wall surface properly. First, clean the wall surface using trisodium phosphate to remove dirt and grease. Next, inspect the wall to ensure it is level and make any necessary repairs like filling holes or cracks. A ledger board can also be installed to guide the tile layout, and tile spacers can be used to ensure even spacing. Following the manufacturer’s instructions, apply adhesive to the wall surface and install the tiles carefully.
